

PDF Generation API: Scale Marketing with Automated PDFs
Discover how PDF generation APIs help marketers create professional documents at scale. Automate workflows, customize templates, and boost productivity.
.webp)
Whether designing a poster, a business card, or a brochure, designing for print always requires attention to detail and key consideration to ensure that the final products meet your expectations.
Not taking care of any of those aspects may lead to delays, less-than-perfect results, or require re-printing.
Would you like that to happen? Of course not!
So, let's use the professional print guidelines provided here to learn how to design for print like a pro!
Designing for print aims to create content for printing. Like digital designs (which appear on digital spaces or websites), print designs convey a specific message to the audience through visual graphics.
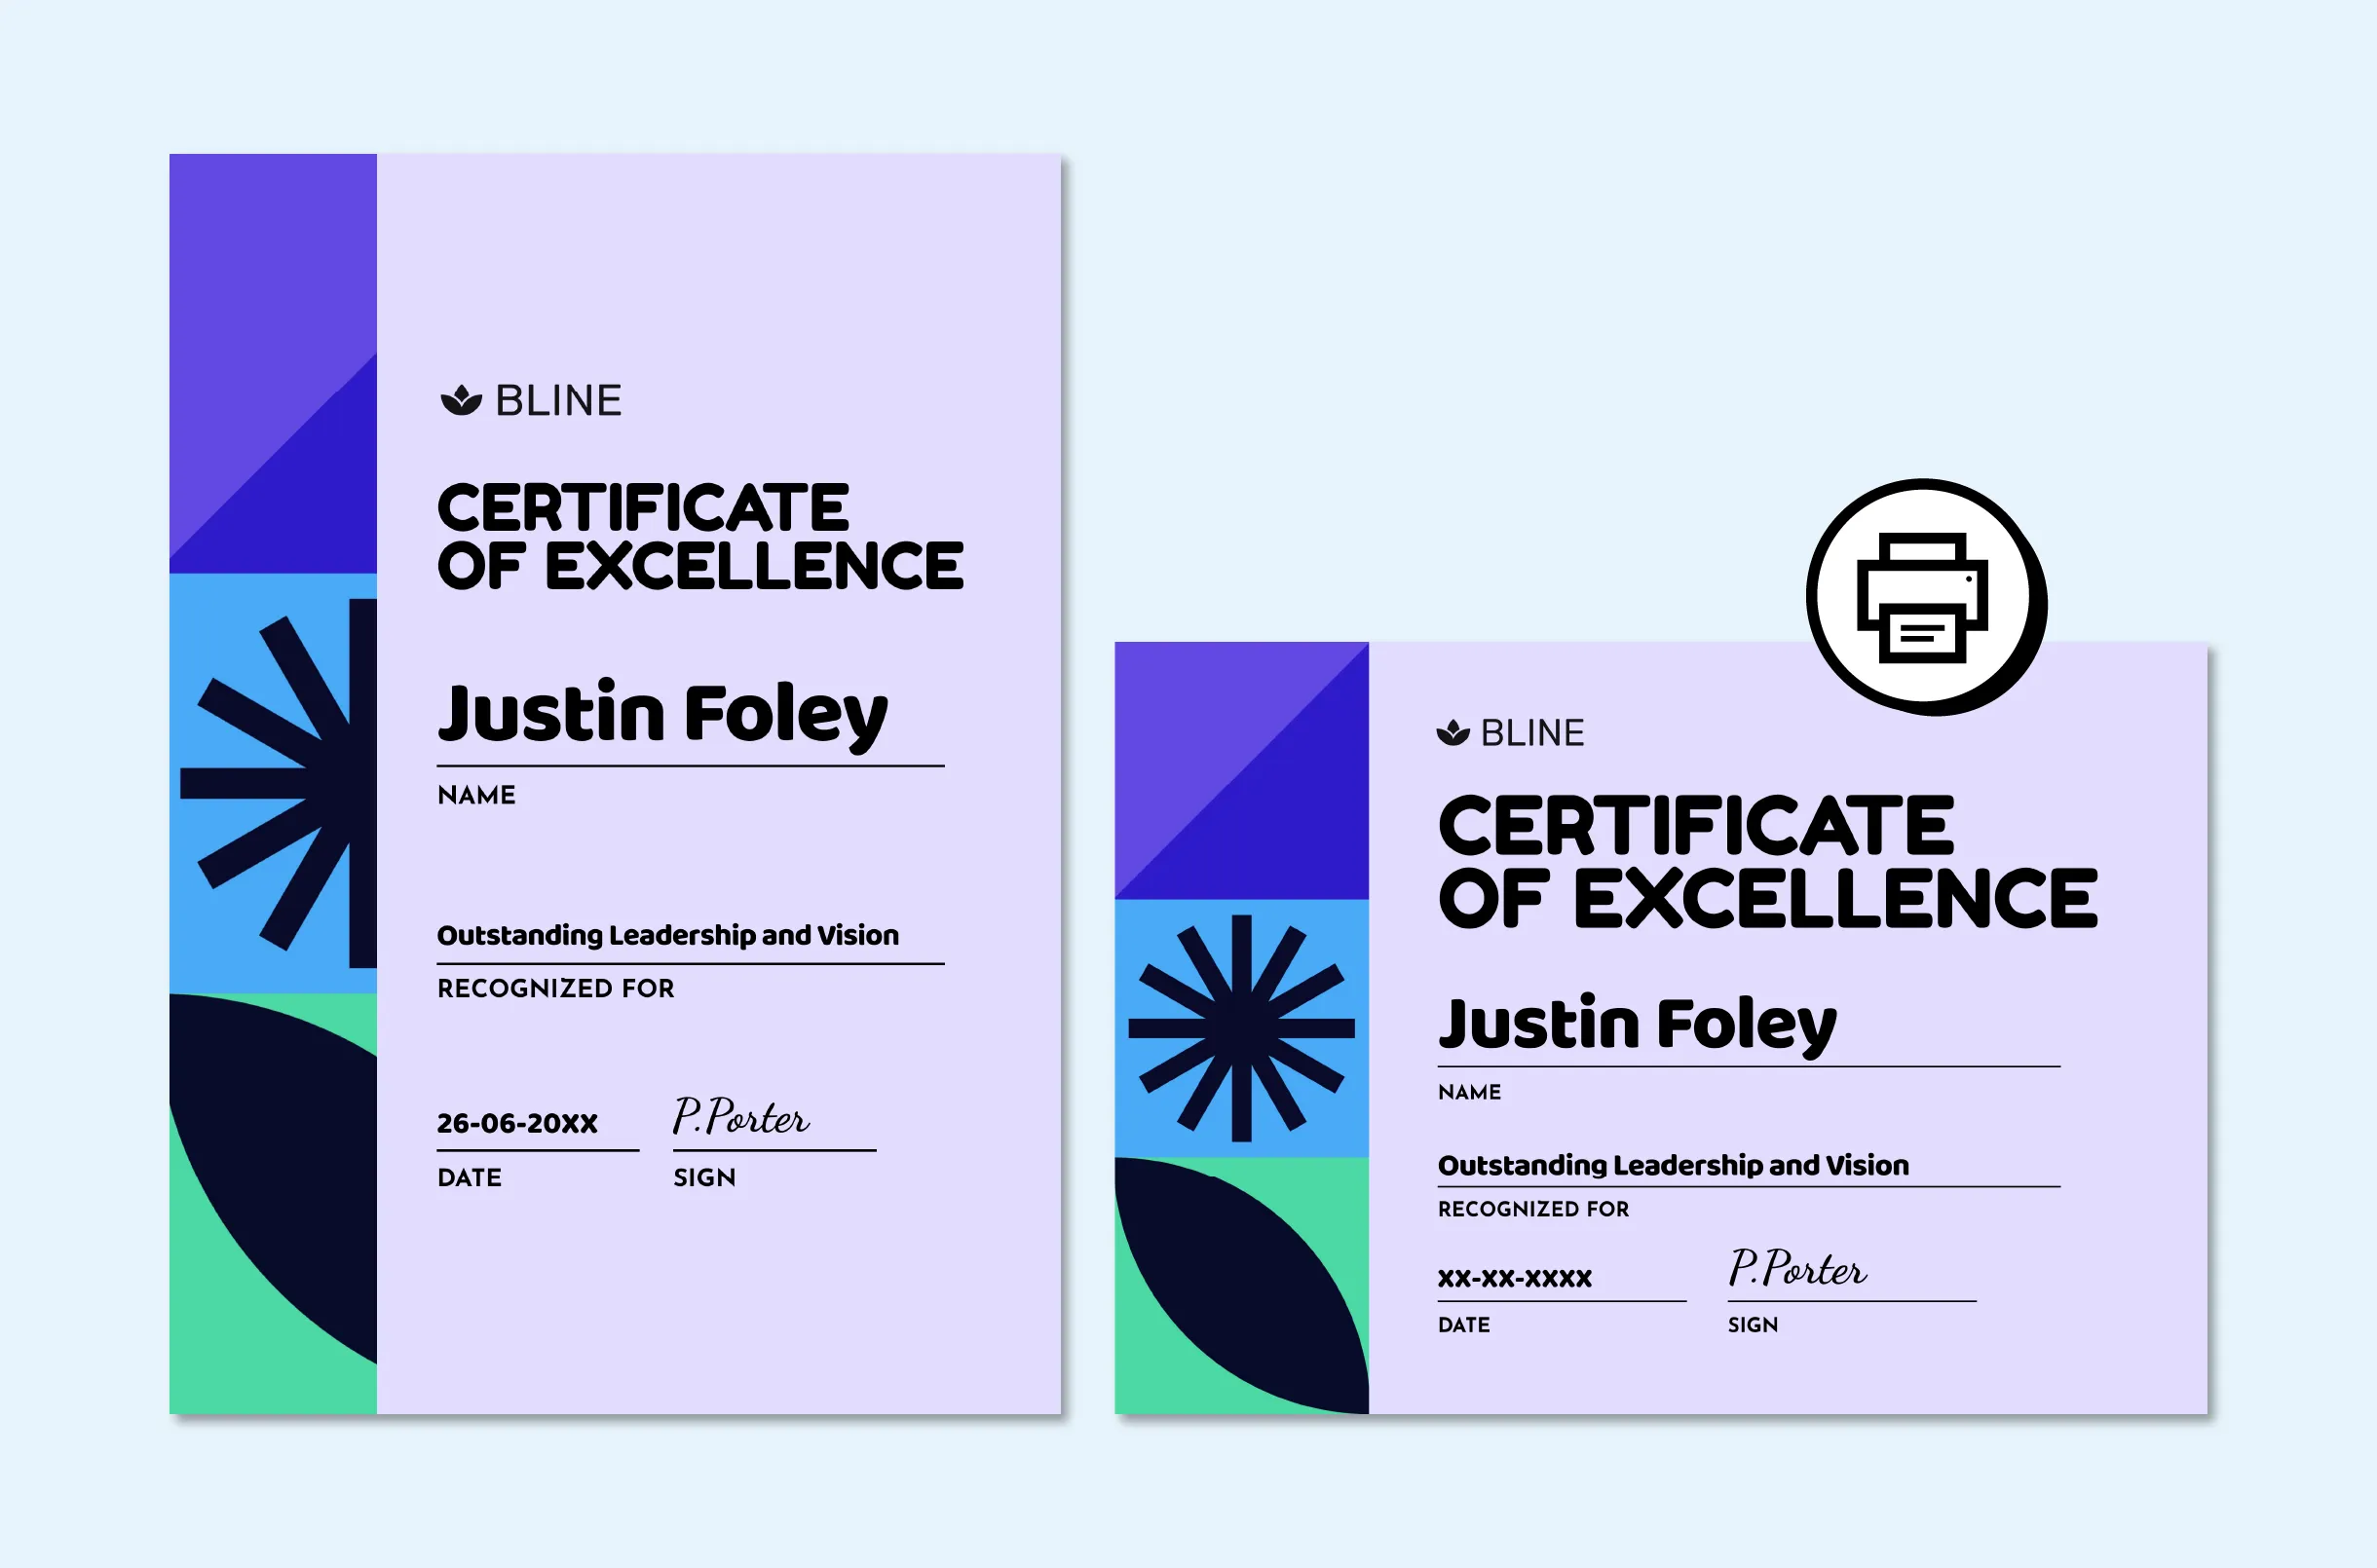
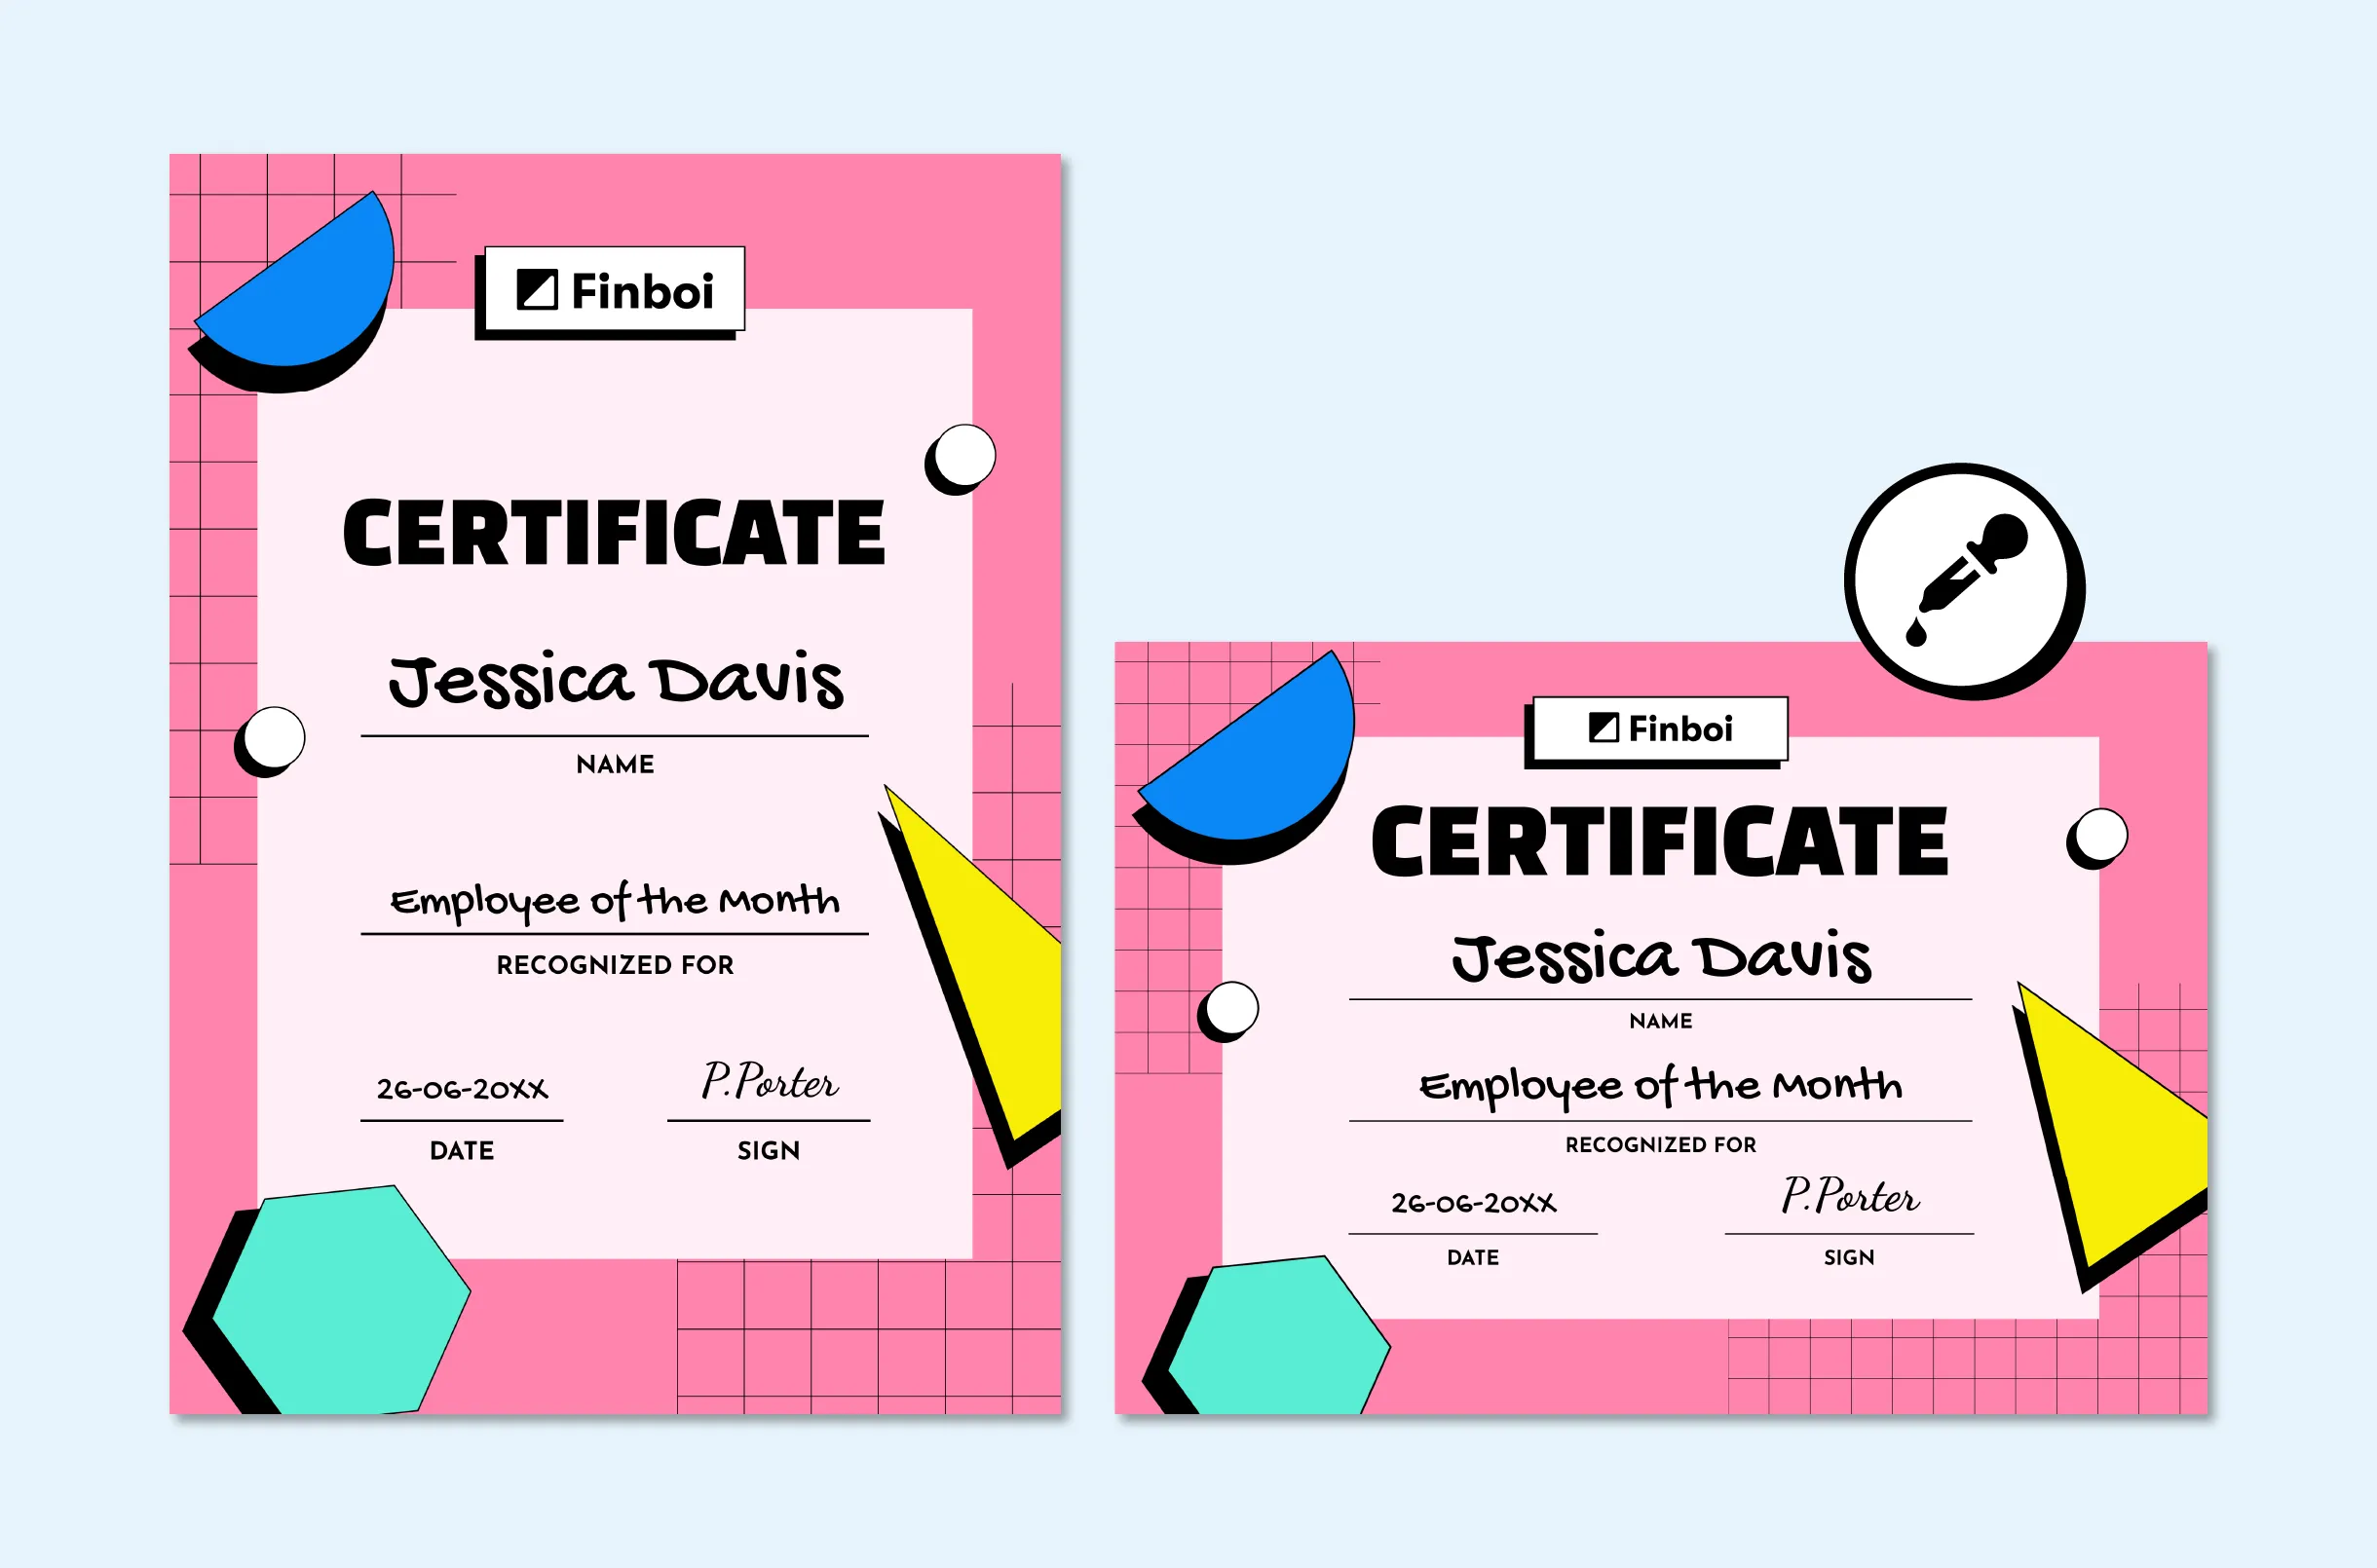
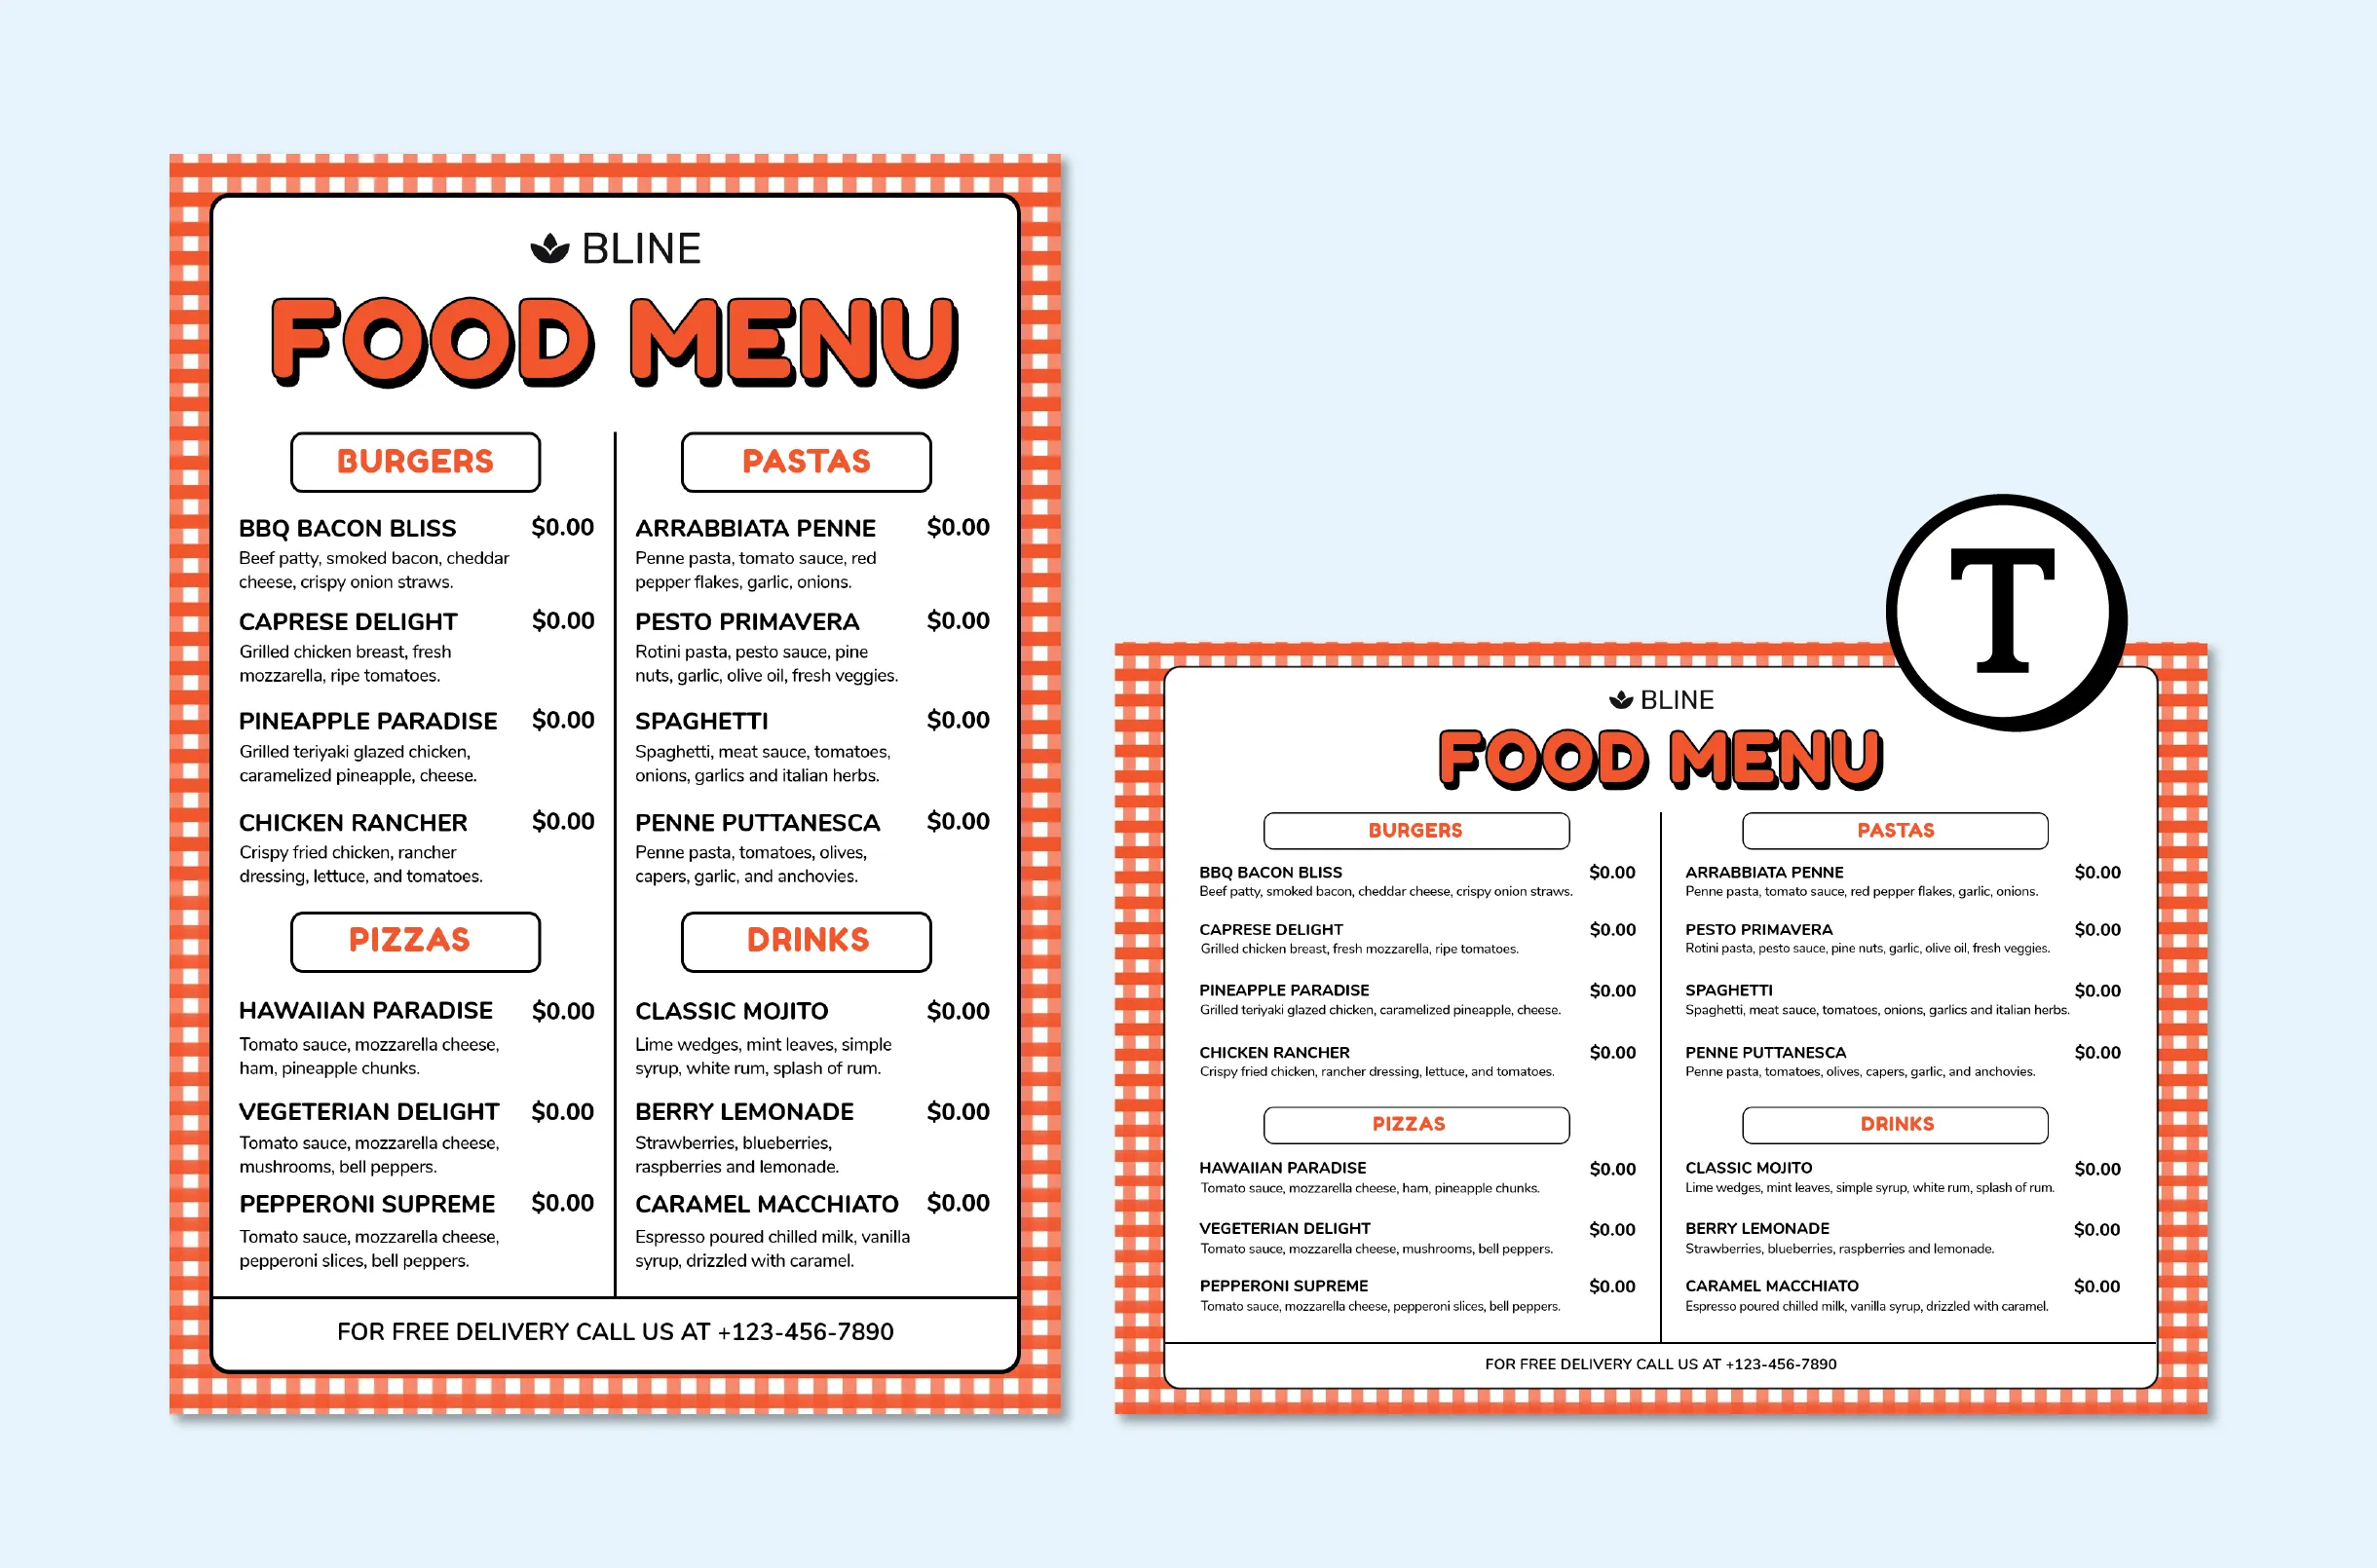
At first, print designs may seem rare to many like you, but a closer look reveals they are all around us. Print designs appear on billboards, banners, posters, calendars, menus, brochures, and business cards.
Print designs take center stage in publishing, where a well-designed cover significantly affects book sales. Print designs are equally crucial for advertisement campaigns and brand marketing, where they help build strong connections with the target audience.
That is why ensuring your design works well on paper (after printing) is crucial. It is only possible if you have properly set up the file for printing. For example, consider sizing, resolution, bleed, trim, color profiles, etc.
To assure accuracy and perfection, it is essential to always save the files in PDF format. Why is this so important? Let's look at it in the next section!
PDFs are the most useful format for taking documents to the printer as they preserve the formatting, print-ready aspects (trim and bleed), color accuracy, and compression. Not only that, print-ready PDF files are the most accepted and preferred because they speed up the print production workflow and:

Digital designs present the information in an eye-catching way via screens. Meanwhile, print designs are meant to display information on physical pages. Besides this, there are several other differences between the both; let's look over them here:
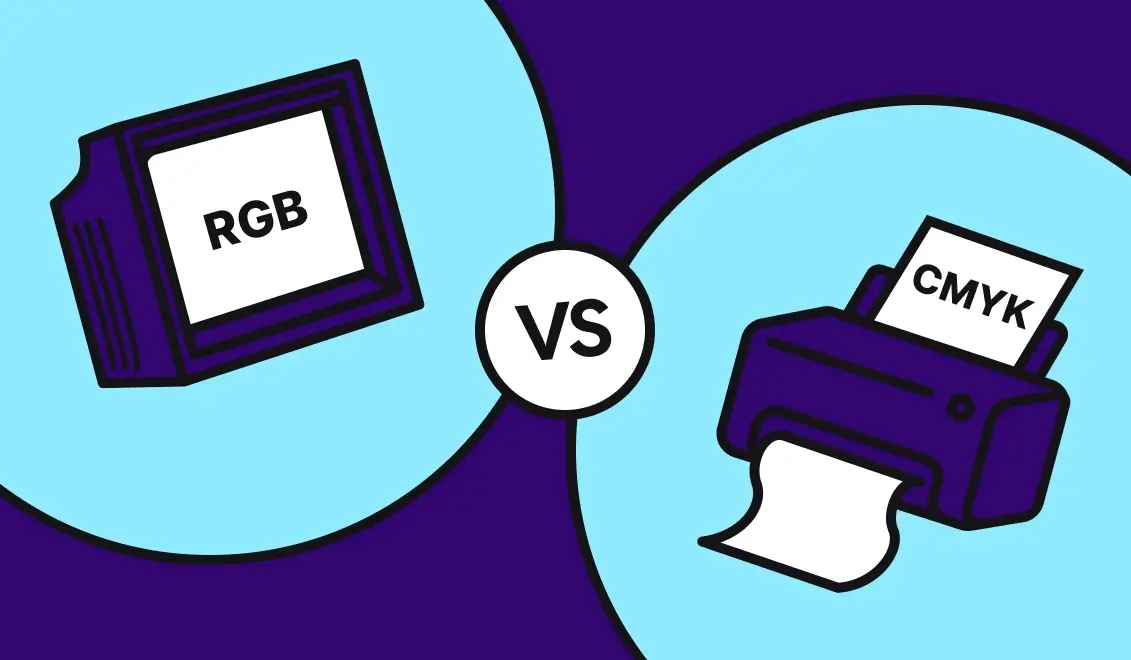
#1. CMYK vs RGB
In digital designs (where most of the content is created for websites or blog post graphics), RGB color mode is used. It is an additive color system that creates different colors from red, green, and blue combinations.
However, if you create a print design, you will use CMYK color mode, as RGB can lead to untrue color production during printing. CMYK is a subtractive color mode. With this mode, you can create all possible colors from combinations of Cyan, Magenta, Yellow, and Black.
#2. High-Resolution Image Vs Screen Resolution
PPI (pixels per inch) defines screen image resolution, which tells you the number of pixels displayed per inch of an image. A higher number of pixels always leads to higher image quality. Dots per inch (DPI) tells you about print resolution.
The entire viewing area of a computer monitor is made up of pixels and has a fixed resolution (72 ppi to 100 PPI). An image optimized for that resolution will always look natural and detailed to the eye.
However, its pixel blocks will become readily apparent when that image is printed at full size. So, if you want to maintain the details and crispness of your high-resolution image even after printing, always set it at 300 dpi (the best image resolution for print).
#3. PDF vs JPEG or PNG
Digital platforms and printed materials have different file formats. So, you need to consider file format compatibility when designing for printing. For instance, PDFs are considered the best choice for printing, while JPEG or PNG are suitable for digital platforms. JPEG is preferred for digital art and photos, while PNG is an appropriate option for web pages.
Follow up the mentioned below steps while creating the design for printing if you want to achieve visually appealing and professional printed materials at the end:
#1. Define Your Objective And Audience
Before you start designing for printing, consider your printed material's purpose, objectives, and target audience. For instance, this document will promote your services, products, or an event. Understanding your objectives and goals will guide you throughout the design process and let you create a visually engaging and effective design.
#2. Choose The Right Software
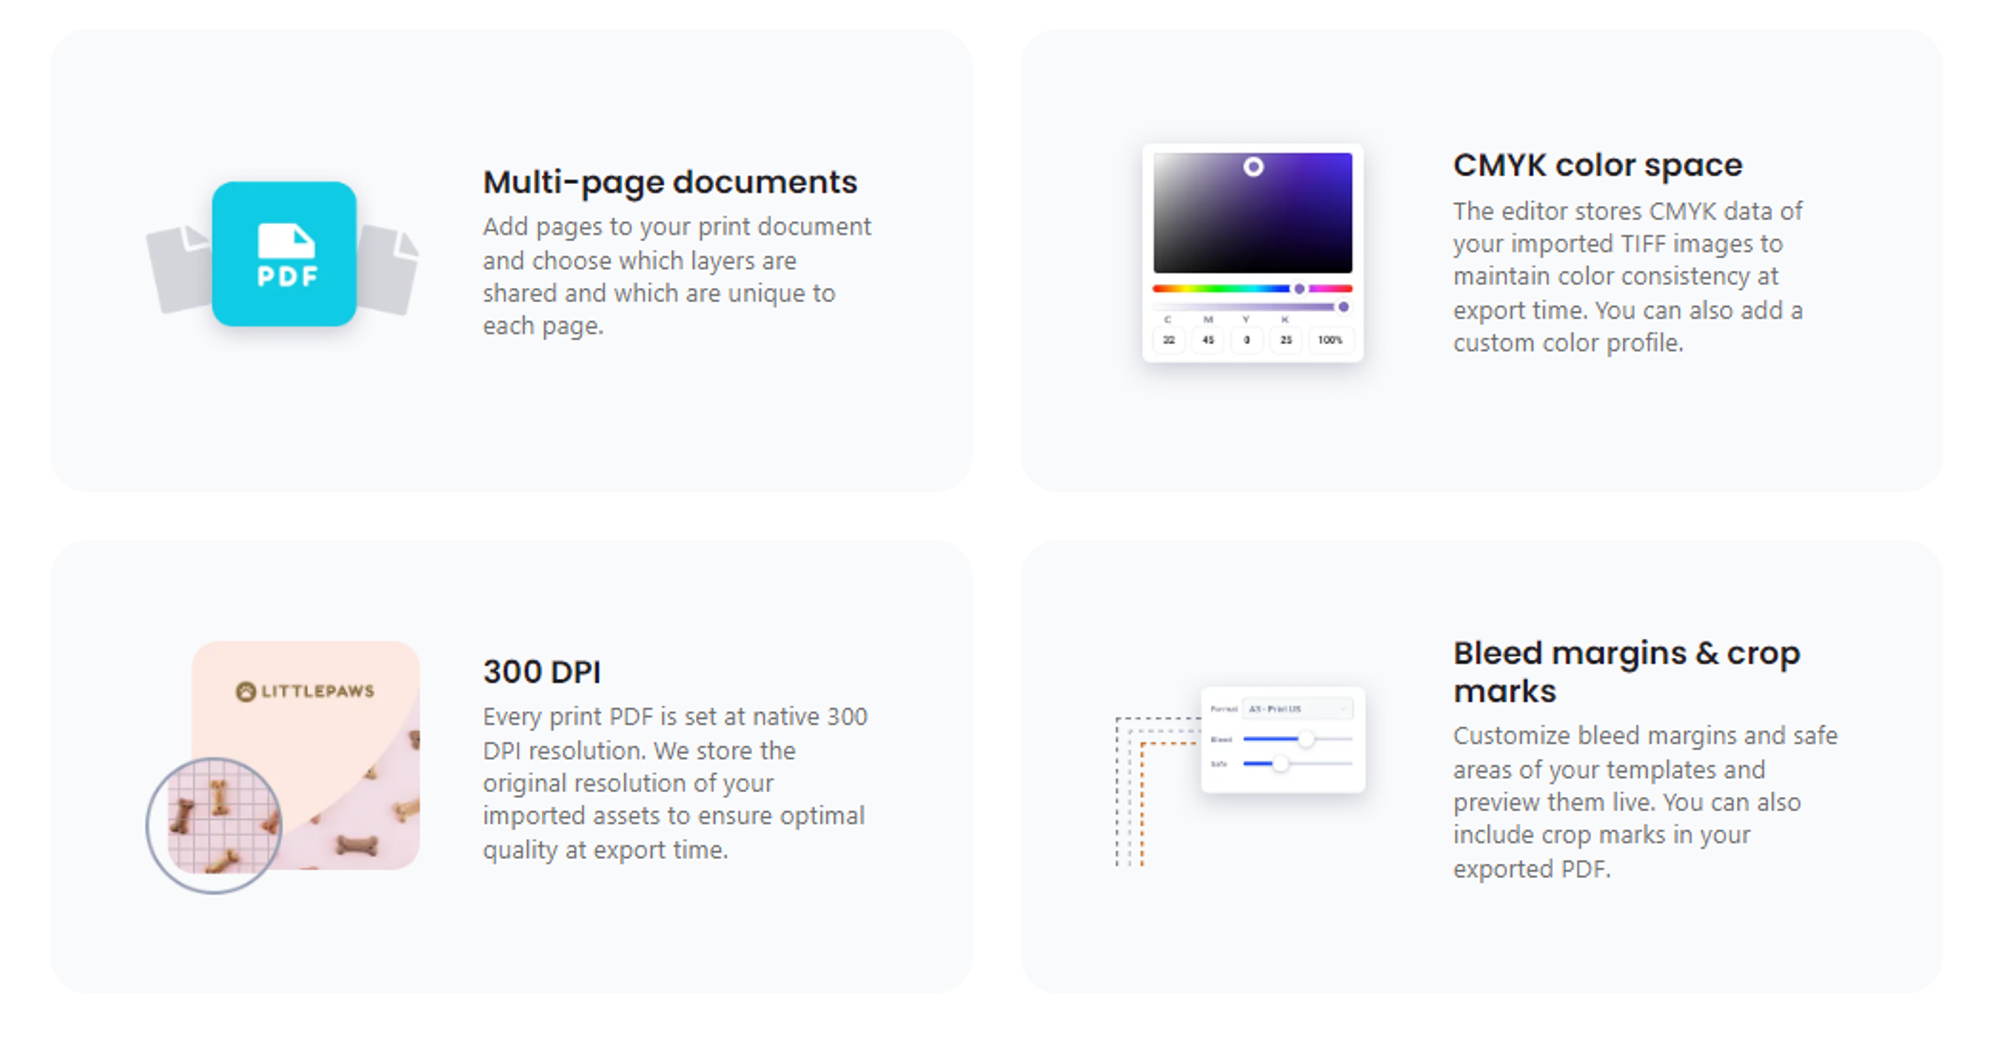
The software can help you create print-ready artwork. But before selecting software, ensure that it has all the features (300 DPI, Bleed Margin and crop marks, CMYK color space, Multi-page document exportation, PDF X-4 compliance) specially tailored for print design. If you think you will need multiple software, as finding all the required features in a single software is impossible, you are wrong.
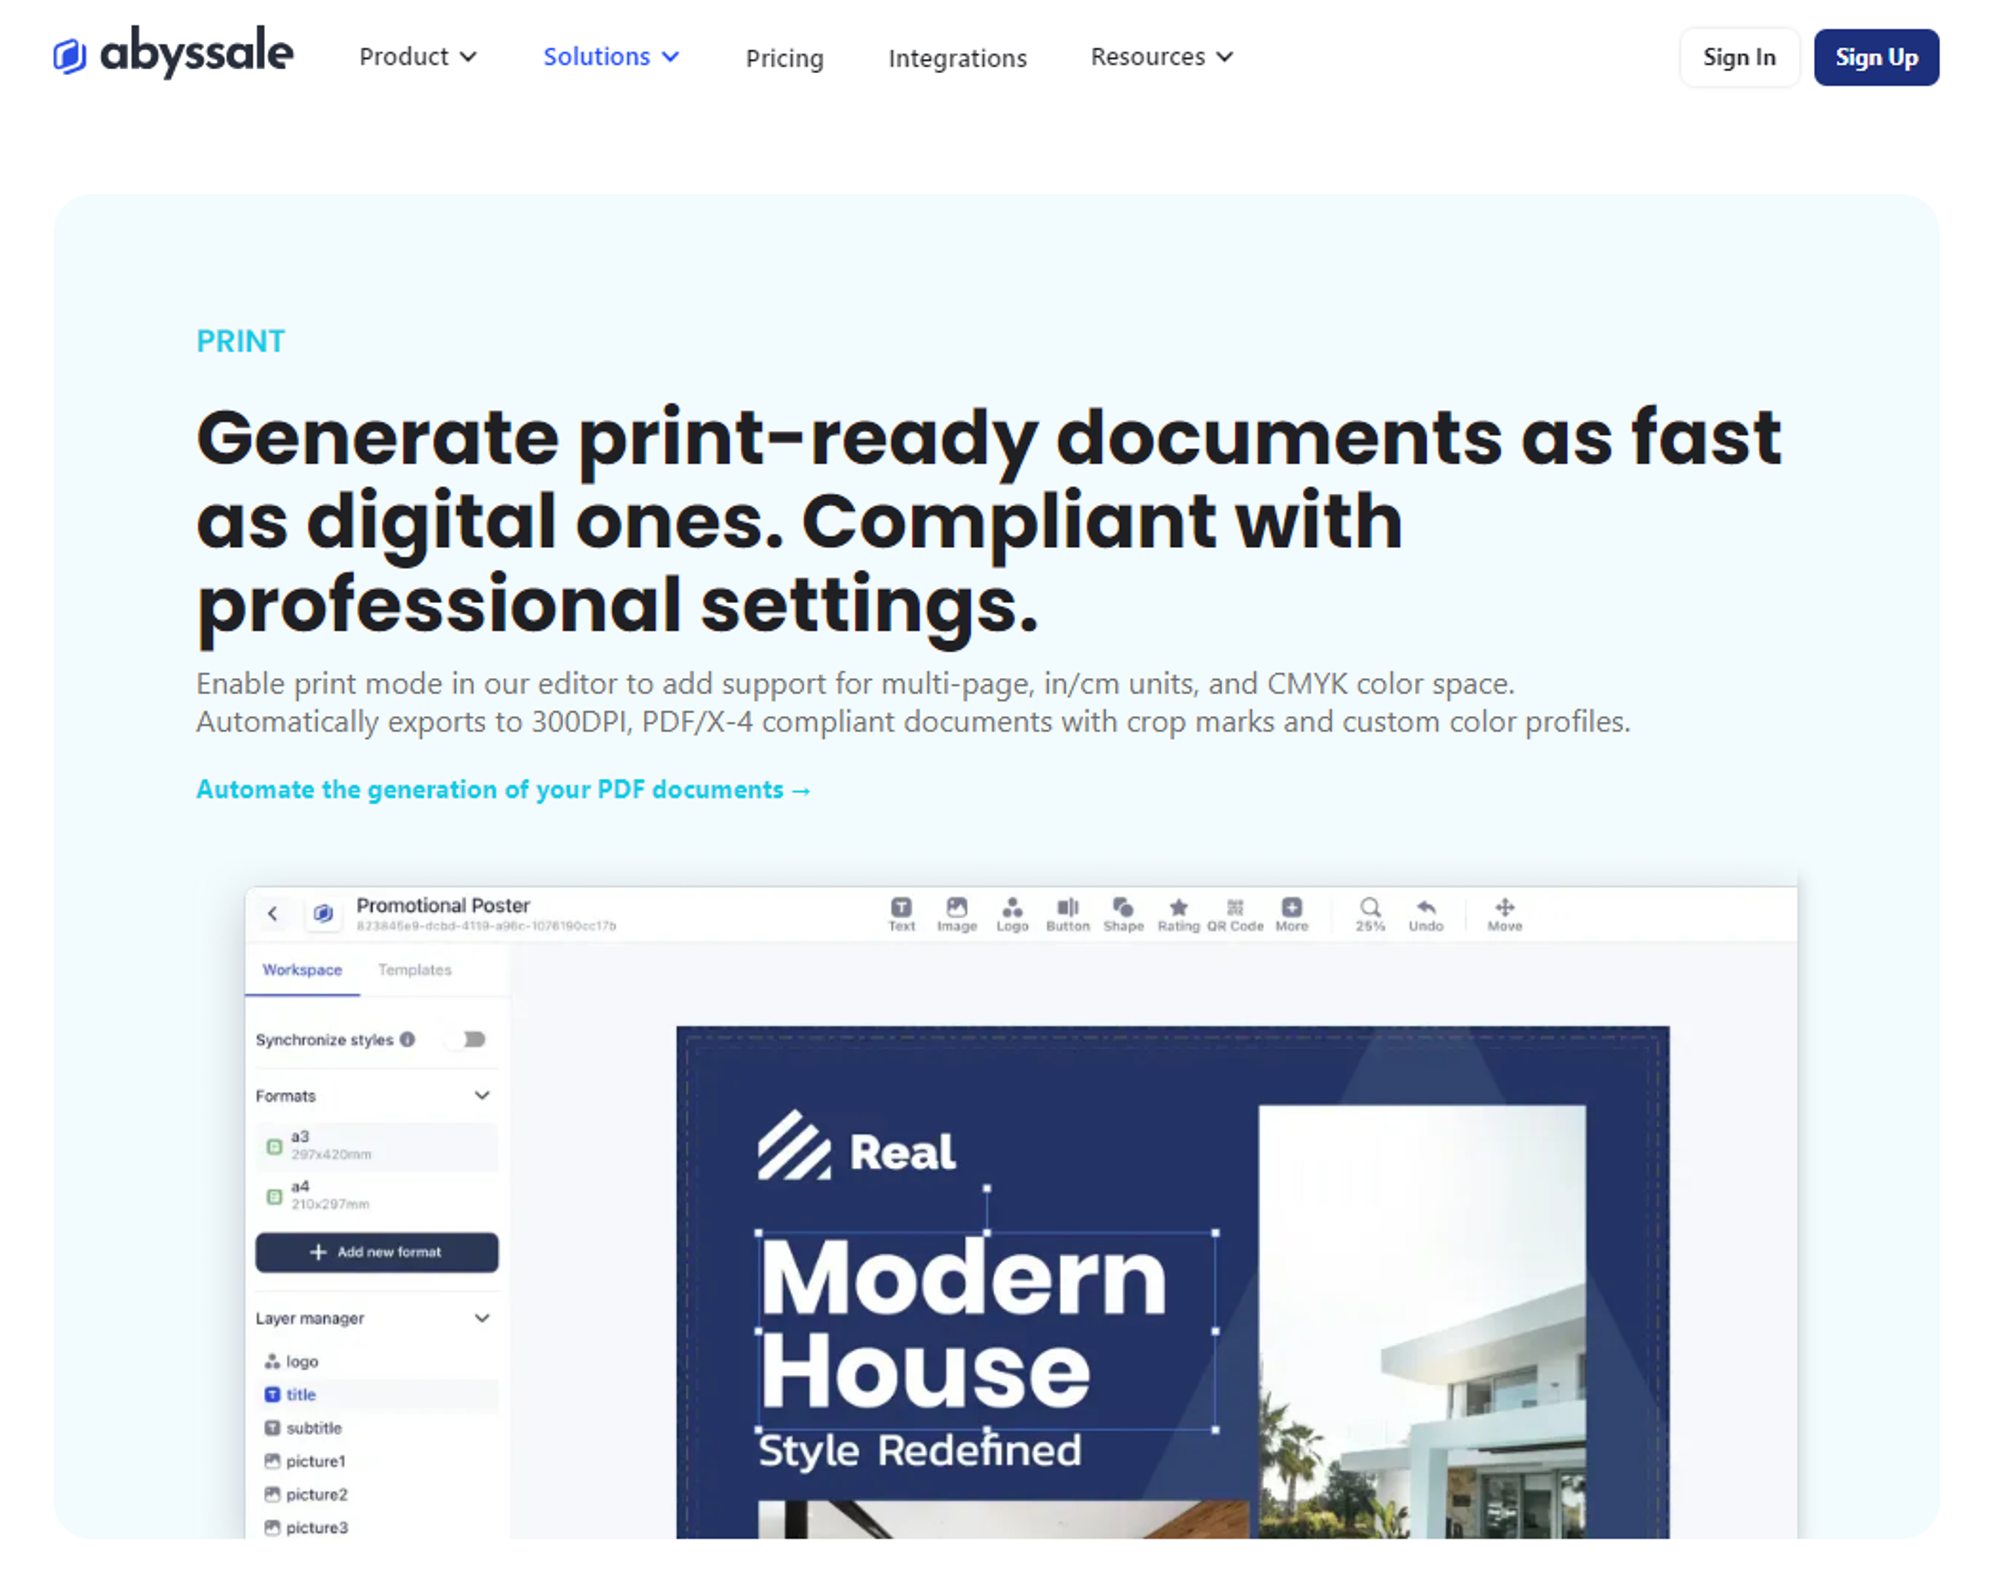
Our tool offers all the required features, from CMYK color space to PDF/X-4 print-ready PDF files, making your job enjoyable. The tool is easier to use, so you will not need any training.
It lets you design multi-format and multi-page print documents quickly. So, familiarize yourself with Abyssale’s capabilities and maximize your design potential!
#3. Setting Up Your Document
It is crucial to start creating the document with the right resolution, dimensions, and color mode. Checking the prepress PDF guidelines here can help you design your document accordingly. After that, double-check and ensure that you have set your document accordingly.
For instance, set the high resolution (300 dpi) to ensure print quality, select the appropriate units of measurement (centimeters, inches), and set the color mode to CMYK for accurate color production in print materials.
Consider the final page size during PDF file preparation, especially when creating brochures, posters, or flyers. It ensures that your PDF file has the correct dimensions. Making changes later will result in a loss of quality or distortion.
Along with page size, you should maintain a consistent layout design for print. For that, you must uniformly align the images and designs. By assuring this uniformity, you can get visually appealing printouts.
Bleed is an important but least understood element of print-ready PDFs. It is extra padding (1/8 inch) around all four sides of your file. Bleeding prevents white slivers of unprinted paper from showing up on the edges. Plus, if the color goes beyond the cut line, it will let you get clean and professionally done printing materials.
Trim marks or the artwork file tell you where to cut the paper after printing. They guide you through the trimming process and ensure you finish it perfectly. So, consider bleed and trim settings from the beginning during PDF file preparation.
Aside from these two, a safe area is also equally important. It is the margin within which all of your design elements (images, text, and graphics) should be placed and ensures that none of the elements will be cut off during printing.
#4. Choosing the Right Colors
Understanding color management in PDFs and choosing the right color modes and profiles is crucial for color representation in print.
The right color mode for your print design is CMYK. If you selected RGB, convert it to CMYK to avoid unexpected color shifts. Also, calibrate the monitor to ensure the colors on the screen match your printed output.
The color profile is a set of instructions that ensures consistent color production across different devices during printing. Choosing high-quality color profiles will significantly improve color accuracy.
You must choose fonts that are appropriate to your message. Avoid using typefaces to maintain readability and consistency. Ensure that fonts are embedded and compatible.
Embedded fonts include the font files within the document. The recipients can use them even if they have not installed that font on their computer. Font embedding in PDFs or outlined fonts prevents issues (such as missing fonts) when you send your designs for printing. Plus, it ensures that the original design is maintained during printing.
Always use simple and legible fonts. Focus on correct kerning, readability, and meeting printing press requirements. Avoid using various font styles. Using sans-serif fonts like Helvetica or Arial for titles and headings would be better. You can use serif fonts like Garamond or Times New Roman for body text.
When it comes to printing, you cannot overlook the graphics and image resolution:
You must always use high-resolution images (300 dpi) for sharp, high-quality prints while designing. Remember that low-resolution images can appear blurry after printing. Plus, for high-resolution printing, you should get the images from reputable stock photo websites or use your photos to maintain the visual integrity of final printouts.
Raster graphics, also known as bitmaps, are made of rectangular pixels. Each rectangle contains one color arranged as a grid in the final image. Vector graphics are made from paths and form different shapes as polygons, which ultimately make the image. These paths are connected via dots, which you can see during editing only.
Regarding vector vs raster for print, you must choose the vector files because they are resolution-independent, small in size, and easier to edit.
Once the designing is done, check the output settings for print PDFs and review the file or document for errors. And for that:
When proofreading PDF files, pay close attention to spelling, grammar, and text alignment. If necessary, convert the text into outlines and flatten the layers.
Finally, check the file for color accuracy and alignments one last time. If necessary, make the adjustments. You should proofread the document until you are satisfied. Lastly, ensure that images and fonts are embedded, and then save your file as a print-ready PDF.
Here are some print design tips for everyone who wants to create print-ready PSD files at professional printing standards**:**
#1. Optimizing PDF Settings
PDF optimization for printing is crucial; you must choose the right template and create your files at the highest precision standards. Besides that, compress your file and ensure that it is as per PDF/X standards:
PDF/X is a variant of the PDF file format. By setting your files according to PDF/X standards, you ensure that the printer can open them and that there will be minimum errors during printing.
Compress the file. This way, you can reduce the size of your PDF file without losing or compromising on details and precision. If you send the file for printing without compression, it can be extremely large and take a long time to send or download.
#2. Ensuring Print Quality
The other important thing is to ensure the print quality, and for that, you can never compromise on resolution, DPI, and color accuracy:
Low-quality images look blurry and unprofessional. So, to ensure high-quality images, always set them at 300 DPI or higher. Also, remember that screen resolutions are different. To ensure the clarity of images in final printouts, always set the resolution of your print-ready files higher.
Always use the CMYK color mode to maintain color accuracy during the printing process and have your printouts look similar to those on screen.
#3. File Management
When you have prepared the files, name them correctly. You must make a logical naming convention if you have so many files and want to keep them organized. For instance, you can add the date in the name, version number, or campaign name.
The other thing you need to do is organize the layers. You have two options in this regard (flattening layers and merging layers). The flattening layers discard layer content that may not be visible on screen and let you get perfect results after printing.
If you are tired of spending days creating print-ready PDF files, automate your work with Abyssale and 10X your print PDF production speed. Plus, the tool generates every style copy and version you need.
Let's learn more about Abyssale and take a closer look at its features here:
Abyssale has a user-friendly interface. Its intuitive operations make this tool accessible to users of all skill levels and let them create high-quality print-ready PDFs easily and quickly.
In addition, Abyssale offers pre-built templates and endless customization options. For instance, you can generate banners by altering the colors, text, images, and fonts within professional templates.
So, if you also want to speed up your marketing campaigns, seek help from Abyssale!
If you are tired of blurry prints and are curious to find the secret to achieving high-quality prints, remember some key considerations while preparing PDF files to ensure success.
For instance, consider your objectives, choose the right colors, set up the file carefully, and take care of fonts and images. Most importantly, choose the right software, such as Abyssale, which can automate your work, save you time, and let you focus on other tasks!
Explore our guides and tutorials to unlock the full potential of Abyssale's spreadsheet feature for scaled content production.

%2520(14).webp)