How to generate a custom shipping label for your Shopify store
Abyssale makes unboxing memorable for your customers. Learn how to automatically generate shipping labels for your Shopify store.
Shopify is a great online platform for e-business especially because of its interoperability. Indeed you can connect shopify with a lot of tools and make your daily work easier.
At Abyssale, our core business is all about images. That's why we know how important they are for e-business, but also how time consuming image creation can be. That's where our second business focus comes from: automation. At Abyssale, we develop a range of solutions to automate image creation and are always looking for time-saving tips.
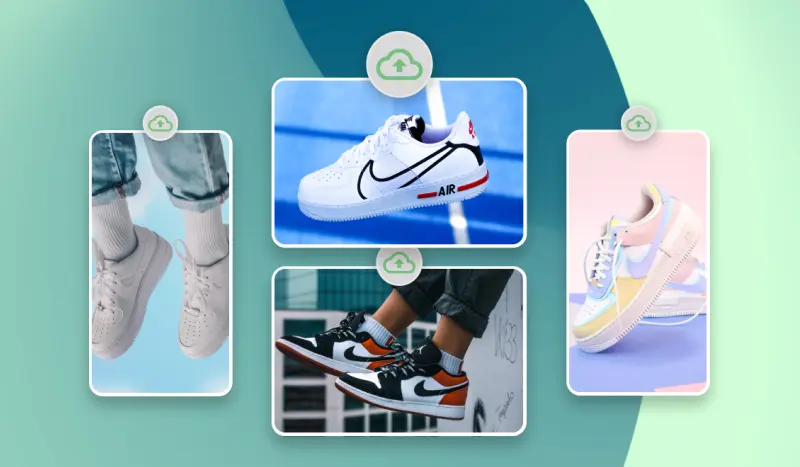
This article is the result of the combination of these two points. We have already explore how to automatically add product images on shopify, but numerous times, when you add a new product on shopify you want to upload several images. This is why we’ll go further in shopify media upload this time by seeing how we can do a shopify bulk product image upload.
Bulk image upload can present challenges, such as managing large file sizes and ensuring all images are correctly formatted. We will discuss various solutions to these challenges, highlighting the importance of effective tools and methodologies for managing image uploads efficiently.
To make a shopify bulk image import, two ways are possible. You can either do it directly from your Shopify account or do it from a CSV file. CSV files are crucial in the bulk upload process as they help in organizing and populating fields to ensure successful imports without errors. In this tutorial, we’ll go through both of these methods.
The advantage of the first method is that it is simple and allows you to do a shopify bulk product image upload and use these images for your store and product pages.
But the second method is more exhaustive as it will allow you to import not only images but also all your other product information.
Additionally, using file hosting services like Amazon S3 can be beneficial for storing and uploading images. Amazon S3 offers a free tier with 5GB of hosting space, which can be useful for managing large file storage and uploads.
For the first method, directly in your Shopify account, go to :
Settings > Files > Upload files.
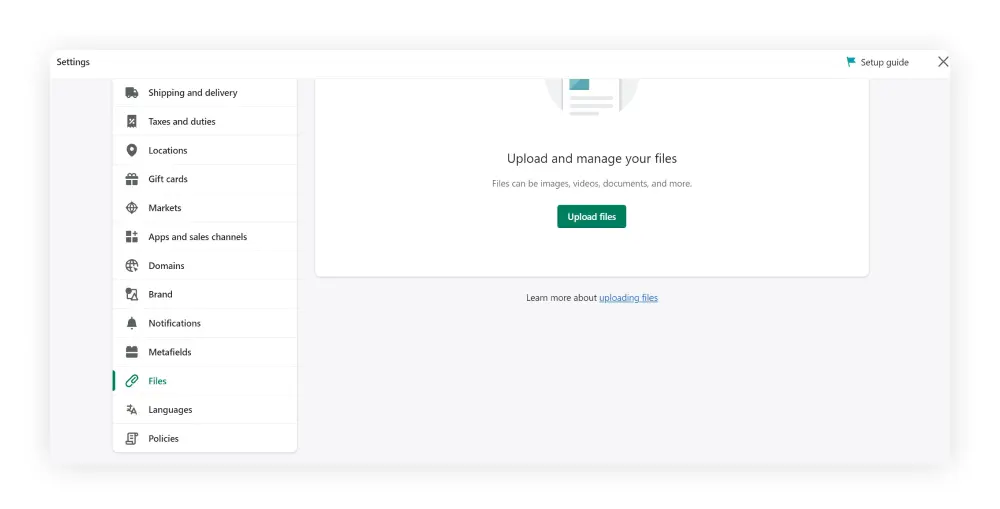
Now you can upload several images directly from your computer. When handling multiple images per product, ensure that your data is structured correctly in a spreadsheet to display both primary and secondary images.
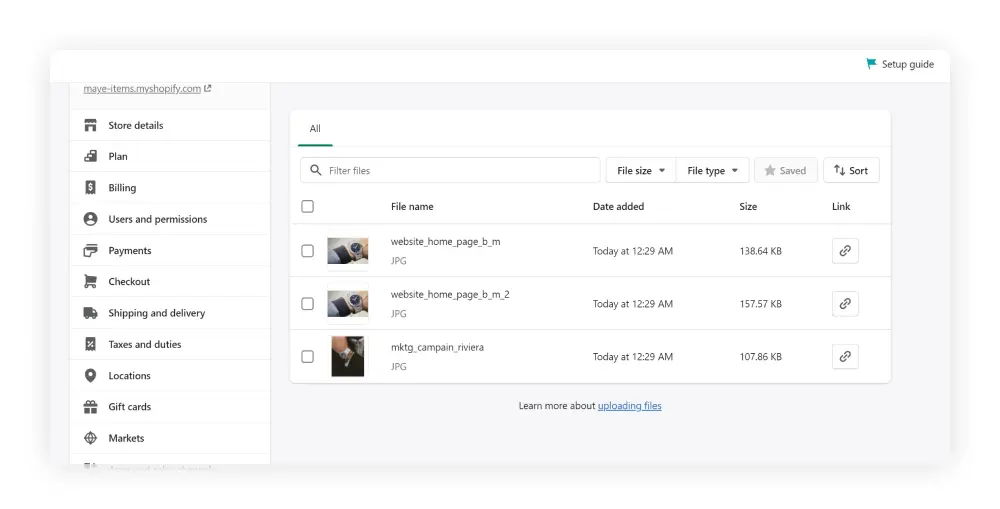
Once your import is done, you can set up your store or new product and use the images you’ve just uploaded.
If you have a lot of images, you can also filter them (by size or by filter files bar). For a more convenient and efficient solution, consider using a mac app designed for bulk uploading images to Shopify, which often includes a user-friendly interface and options for a free trial.
When uploading your images pay attention to their size (maximum 20 MB) and their format (JPEG, PNG, GIF, HEIC, WEBP).
Using structured file names for your images can facilitate easier access to their URLs. Consider matching file names to SKU numbers or product handles to enhance organization and improve file retrieval efficiency.
Note also that it is recommended to upload a maximum of 20 images per import.
Certain image upload services offer a free plan, allowing users to try out their features without any upfront costs. This can be a great way to experience the service risk-free before committing to a paid subscription.
Another, and much more time efficient way to bulk upload images to Shopify is to do it in bulk. To do so, you can use a .CSV file.
You can use your .CSV file as a data base for your Shopify product pages. As usual you enter all your product characteristics by accurately respecting the data structure of Shopify.
This way, for each column you fill your product informations : Product name, price, description …And when it comes to the images, you have to enter an accessible URL.
Copy paste the url of your image in you .CSV file. This way you will have several lines and columns including all your products data that you can import in bulk in Shopify and save precious time.
To get URLs for your images, you can for example bulk upload them to S3 or another media hosting provider. If you don’t know how to generate URLs for your own images, you can also do it directly from Shopify.
Using the first method to do it, just upload your images in shopify > settings > files and upload your images there.
Using 'shopify files' to store images can help ensure that multiple images for products are correctly linked in the CSV import process.You can find all your images URLs in the “Link” Column
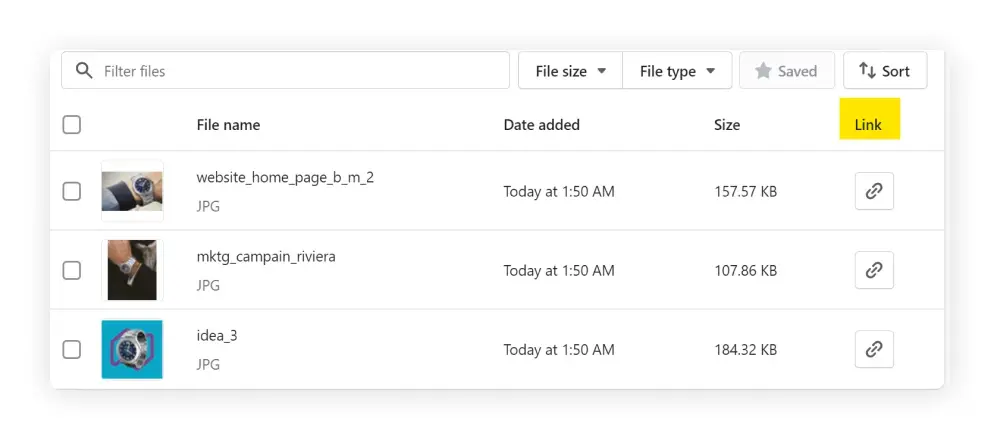
Once you have your images URLs you can paste it in the Image src column of your sheet/ csv.
A good thing is, in addition to be able to upload several product images in the same sheet, you can also add several image for a same product. All you have to do is to add as many rows as you want under the same product.
You can read more information on that just here.
Now you have 2 different methods to import images in bulk in Shopify 🙂
Explore our guides and tutorials to unlock the full potential of Abyssale's spreadsheet feature for scaled content production.
.webp)